My First Jekyll Site!
Setting up this blog with Jekyll was super easy. The theme is done by the very talented designer @Mmmistakes. Check out his work, it’s legit.
I use docker for most things so I don’t have to install dependencies on my local machine. To start I just mounted a local folder to a ruby container and exposed port 4000 to my machine:
> docker run -it --rm -v $PWD:/www -p 4000:4000 ruby:3.0.2 /bin/bashNext, I installed jekyll and bundler, initialized a new site with jekyll, installed webrick and started the server:
> gem install jekyll bundler
[...]
27 gems installed
> jekyll new www
Running bundle install in /www...
[...]
New jekyll site installed in /www.
> cd www
> bundle add webrick
[...]
> bundle exec jekyll serve
> bundle exec jekyll serve --livereload
Something to note, jekyll serves the site on the loopback
address
127.0.0.1
so I needed to update the config.yml (or pass the host flag) in
order to hit the site on my local machine.
port: 4000
host: 0.0.0.0
The setup from there was pretty straight forward. The Minimal Mistakes theme documention was easy to follow. I setup some some pages and posts, some data, and off we went.
I decided to use GitHub Actions for CI/CD to publish on GitHub
Pages, which, thanks to the
@limjh16’s GH Action
it was setup super easy. I dropped the yaml file in
.github/workflows/workflows.yaml
and GitHub Actions automatically built & pushed the static
content to the branch I defined (main). Once the build completed
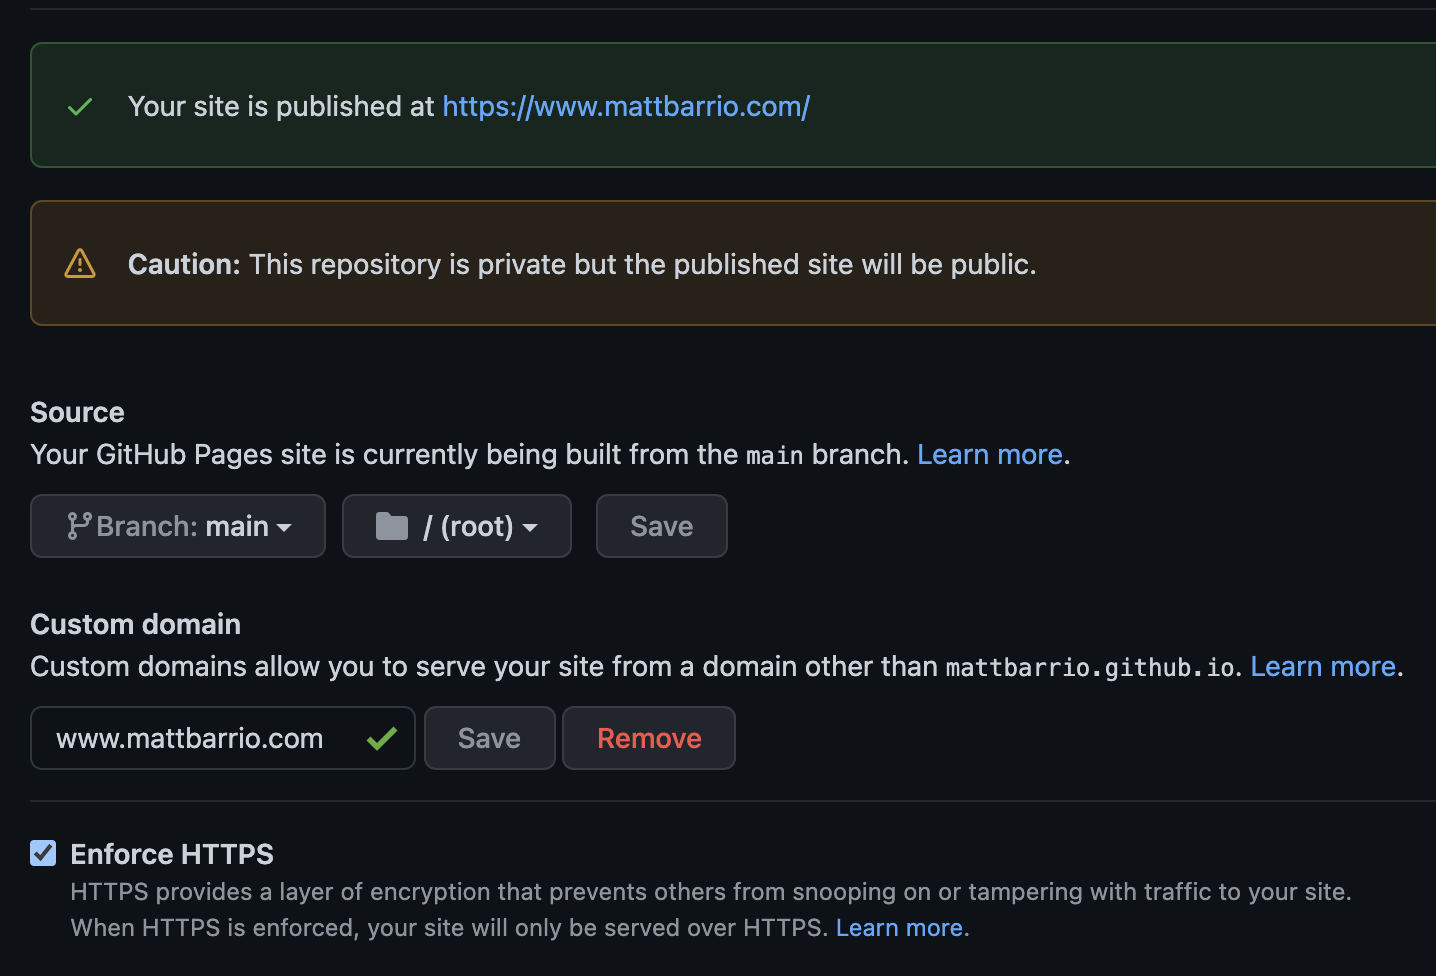
I jumped over to the repo settings in the Pages menu tab to
select the branch and boom, my site was live.
I wanted to setup a custom domain for the site to avoid having it show up as https://{username}.github.io/{repo_name}. This was simple enough, and GitHub even sets up certificates for you and allows you to enforce HTTPS, pretty sweet if you ask me.

Last little note, I kept my repo private as you can see in the
image above. I have two branches -
main
which contains the static content that GitHub Pages is using,
and
source
which is where all the source content to build the site resides.
The nice thing here is GitHub allows you to have a private repo
and use it for public pages.
I might import some of my old WordPress content here in the coming weeks. Until then keep an eye out for some more other posts around techie things 👨🏻💻
